Unclouding History: A Gentle Approach to Cleaning Your Vintage Bottle Collection

What makes vintage bottle cleaning such a particular challenge?
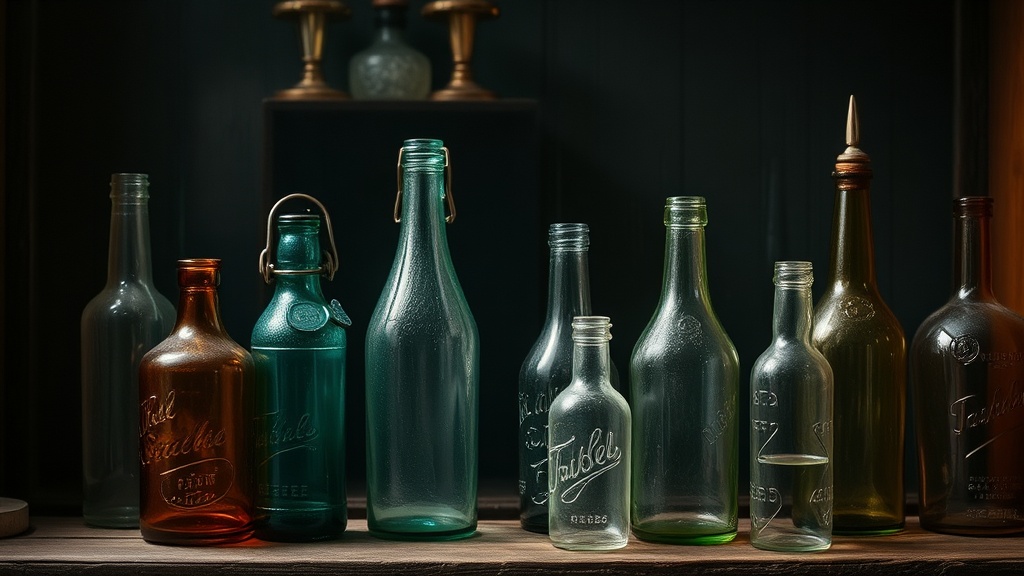
You’ve just acquired a stunning piece of vintage glass—maybe a vibrant medicinal bottle, an intricately embossed soda, or a rustic inkwell. It’s got character, history, and...a thick layer of dust, grime, or perhaps some stubborn mineral deposits. How do you bring out its true beauty without causing irreparable damage? Cleaning antique and vintage bottles is more than just a quick scrub; it requires patience, the right tools, and a gentle hand. This guide will walk you through safe and effective methods to restore your prized glass items, ensuring their historical integrity remains intact while their aesthetic appeal shines through. For collectors, the ability to properly clean and present an artifact is as crucial as finding it. A bottle's true character, its original color, manufacturing flaws, and embossed details, can often be obscured by layers of accumulated dirt. Revealing these features not only enhances its display value but also aids in accurate identification and appreciation of its unique past.
The allure of collecting vintage bottles often lies in their age and the stories they tell. However, that age also makes them particularly vulnerable during cleaning. Unlike modern glass, which is manufactured with remarkable consistency, older glass can have imperfections, varying compositions, and inherent weaknesses. Extreme temperature changes, harsh chemicals, or abrasive scrubbing can easily lead to cracks, etching, or even breakage. We're not just dealing with dirt here; we're often contending with residues that have bonded with the glass over decades, sometimes centuries, requiring a nuanced approach.
What supplies will you need for a thorough, safe cleaning session?
Before you begin, gather your cleaning arsenal. Having everything at hand minimizes interruption and reduces the chance of mishandling delicate items. Here's a list of recommended supplies:
- Gentle Dish Soap: Look for a mild, non-abrasive liquid soap. Avoid harsh detergents with strong degreasers or bleaching agents, as these can be too aggressive for older glass, potentially stripping away subtle patinas or interacting negatively with the glass's delicate chemical structure.
- Distilled Water: Especially important if your tap water is hard. Using distilled water helps prevent new mineral deposits from forming during the cleaning and rinsing process, ensuring a spot-free finish.
- Soft Bottle Brushes: Invest in a set of various sizes, including those with flexible handles or sponge tips, designed to reach into narrow necks and corners without scratching. When selecting brushes, ensure they have soft bristles—anything too stiff could scratch the delicate surface of antique glass, leaving permanent marks that diminish its value and appearance.
- Pipe Cleaners or Cotton Swabs: Excellent for intricate details, embossed areas, or very tight spots where a brush can't reach.
- White Vinegar: A natural, mild acid that’s incredibly effective at dissolving mineral deposits and hard water stains. It’s a staple for many gentle cleaning tasks.
- Rubbing Alcohol (Isopropyl Alcohol): Useful for sticky residues, old adhesive from labels, or some organic matter. Always test a small, inconspicuous area first, as it can sometimes affect painted labels or enameling.
- Soft Cloths or Microfiber Towels: For drying and polishing. Ensure they're lint-free to avoid leaving fibers behind on your newly gleaming bottles.
- Plastic Basin or Sink Liner: A rubber or plastic mat at the bottom of your sink or basin provides a cushioned surface, protecting your bottles from accidental chips or breaks if they slip.
- Rubber Gloves: Protects your hands from chemicals (even mild ones) and provides a better grip on wet, slippery glass, adding an extra layer of safety.
Always avoid abrasive sponges, steel wool, or harsh cleansers like oven cleaner or bathroom scrubbers. These will almost certainly scratch or etch your vintage glass, causing irreversible damage that will greatly reduce its appeal and value.
How do you gently remove common grime and persistent residues?
With your supplies ready, it’s time to tackle the dirt. Remember, slow and steady wins the race when it comes to preserving historical glass.
Initial Rinse and Soaking: Loosening the Surface Grime
Start by rinsing your bottle under lukewarm (never hot or cold) running water. This removes loose dust and debris. Next, fill a plastic basin with lukewarm distilled water and a few drops of mild dish soap. Submerge your bottle and let it soak for several hours, or even overnight, depending on the severity of the grime. This soaking period helps to loosen accumulated dirt and softens any dried-on organic matter, making subsequent cleaning much easier and less abrasive.
Gentle Scrubbing: Reaching Every Corner
After soaking, use your soft bottle brushes to gently scrub the interior and exterior surfaces. For the inside, carefully maneuver the brush to reach the bottom and sides. Don’t force it if the neck is too narrow; that’s where pipe cleaners or cotton swabs come in handy. For the exterior, use a soft cloth or a small brush to clean embossed designs, seams, and the base. Be thorough but delicate, letting the soap and water do the heavy lifting rather than aggressive scrubbing.
Tackling Stubborn Residues: Labels, Adhesive, and Unidentified Spots
Old labels, adhesive residue, or mysterious sticky spots can be frustrating. For paper labels you wish to remove (some collectors prefer to keep original labels if legible), a prolonged soak in lukewarm water often works wonders. Once softened, you can gently peel or carefully scrape with a plastic tool (like an old credit card). For persistent adhesive, a small amount of rubbing alcohol on a cotton swab can dissolve the stickiness. Always test alcohol in an inconspicuous area first, as it can sometimes affect painted labels or enameling if present. Another option for very stubborn residues, especially tar or oily grime, might be a tiny dab of mineral spirits, applied with extreme caution and immediately rinsed thoroughly.
Battling Mineral Deposits and Cloudiness: The Vinegar Solution
Perhaps the most common—and vexing—issue with vintage bottles is cloudiness or internal mineral deposits, often referred to as ‘film’ or ‘haze.’ This typically occurs from water having sat in the bottle for extended periods. White vinegar is your best friend here. After your initial soap and water cleaning, drain the bottle and fill it with undiluted white vinegar. Let it sit for several hours, or even a day or two, shaking it periodically. The acetic acid in the vinegar will gradually dissolve the mineral buildup. For very stubborn cases, you can add a handful of uncooked rice or small, smooth pebbles (avoid sharp grit) to the vinegar-filled bottle. Gently swirl or shake the bottle; the rice acts as a mild abrasive, scrubbing the inside without scratching the glass. Rinse thoroughly with distilled water afterward to remove all traces of vinegar and dislodged minerals. You can find more detailed guidance on removing challenging mineral deposits from glass over at